I've been working on these tables since sometime in late winter. Seems like a long time, but I spent only a few hours on them at a time, and also had a few minor side projects to keep me busy as well (namely overdue house reno's). I didn't take any pictures in the early days, so we can skip right to the good stuff.

This is one of the tables before I added the drawer face. The rails are mortised into the legs (did those mortises by hand), and the aprons are fitted into routered mortises. By dumb luck I managed to book match the legs. I pre-finished the legs with boiled linseed oil and wax (more on that later) to avoid glue marks. A lesson learned the hard way.
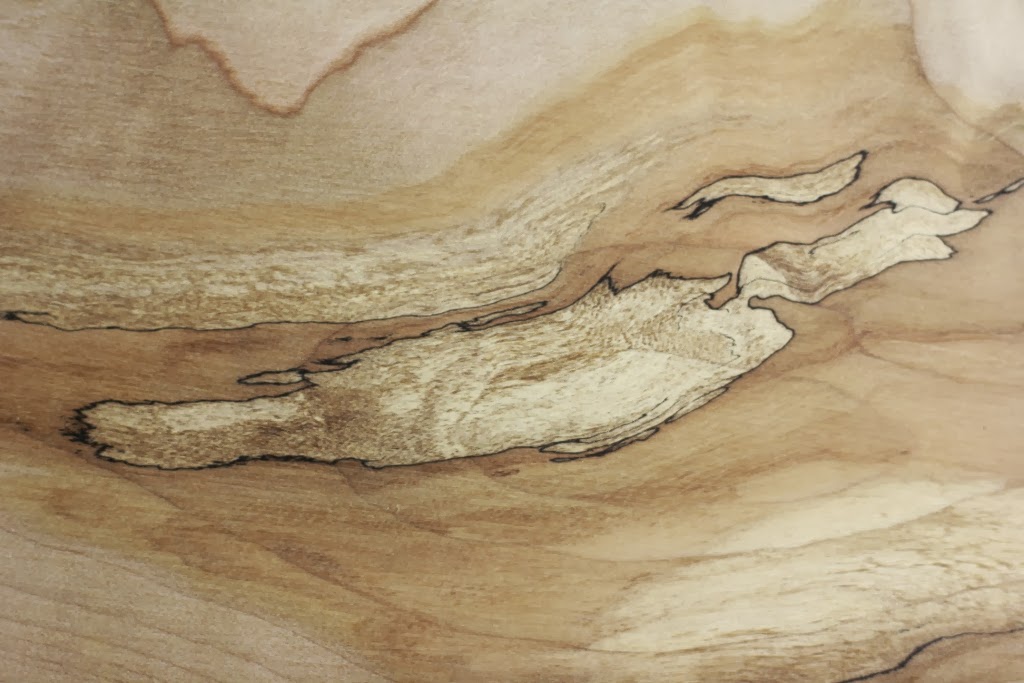
The wood is bigleaf maple. It's pretty common here. I buy it rough sawn from a guy in Abbotsford - he gives me a pretty good deal - cheaper than the garbage wood they sell at hardware stores. The picture below shows the spalting from one of the pieces.
The drawers are vertical grain hemlock, with dowels for strength. They say the dowels are 'hardwood'. I'm thinking that means poplar. If I don't figure out dovetails soon I'll find a supplier of better doweling. My goal is to do dovetails by hand - the jigs look too much like cheating, and the results look too machined for my taste. I like the some of the tool marks to still be apparent in the work. Perfection looks too sterile.

Another view of the drawers. The wood is pretty, but too expensive when bought from a hardware store. There's a mill not far from here that specializes in vertical grain wood - some day I'll buy a huge slab to make something cool.


Sarah bought me some hand planes recently - I got the smoothing plane working to help deal with some tear-out, until I eventually made it worse. More lessons learned. One of my future projects will be tuning this sucker up. I am aware that planes shouldn't be left standing like this - but it looked better in the picture.

Getting closer - I surfaced both boards, matched the grain as best I could, and glued them up. It's always a stressful time. Small mistakes here become annoying down the road. These table tops were small enough that I just cut them to rough dimensions and straightened everything up with my crosscut sled on the table saw.

After some tedious hours sanding, time to raise the grain. This is an exciting time for me - it's usually the first time I see what the final product will look like.

Once the raised grain was sanded away, I got to work with the linseed oil. I use the Tried and True brand - it's mixed with beeswax, has no chemicals, and gives great results. Tricky to use though. I heat it up in a hot water bath until it's thin enough to spread on with a cloth. I put on about four thin coats, buffing with steel wool in between. After poring over all the woodworking books I could get my hands on, I decided to seal the linseed oil with shellac. Going against the advice on the can, and following the advice of the pros, I thinned the shellac 50:50 and wiped it on with four or five quick coats, thinning it slightly as I worked. The linseed oil/wax was a bit dull, and the shellac brought out a nice semi-gloss. It'll also keep the oil from going rancid where it can't breathe, which is a bonus.


All in all these took probably 80 hours of work (estimated). A bit much for a project of this scale, but well worth it. I've spent so much time on these now I feel a little lost. I'll need something new to work on pretty soon.
Remi
1 comment:
How about changing diapers? (asks wife)
Post a Comment